


A good cottage garden should be a journey of discovery; you should be able to walk around it constantly being surprised at what’s around the corner. But for all that they feel like they just grew up naturally, cottage gardens take a fair bit of planning to make them seem so effortless.
In this guide, I’ll explain how to put together different plants in ways that will seem like nature did it.
Step One: Gather Your Resources
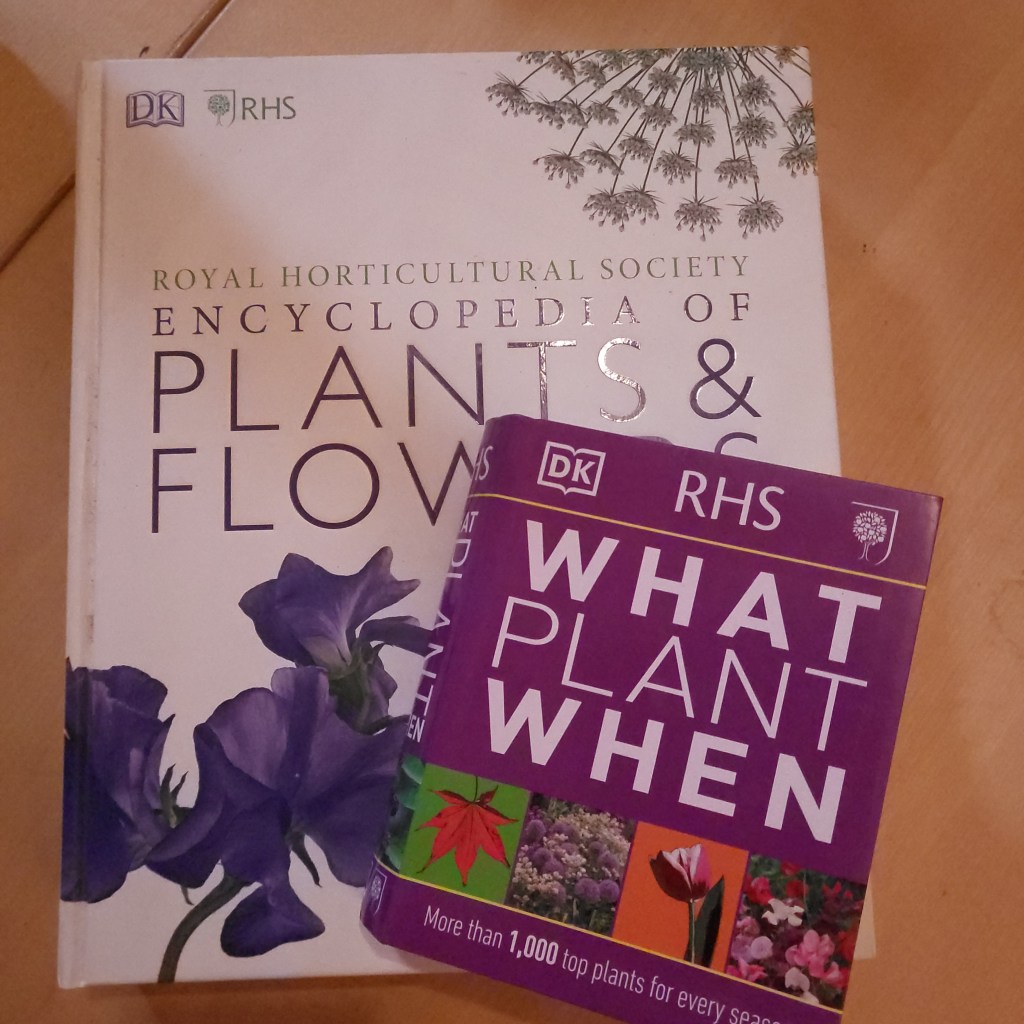
Even the most seasoned garden designer doesn’t just sit down & start thinking of all the plants they know. There are many books & resources out there to help you that divide plants by colour, season of interest, growing conditions & more. I’m particularly fond of the RHS’s ‘What Plant When’, but you can also use their website which I’m pretty sure has every plant ever invented.
I also always make sure I have a good list of native flowers open. It’s easy to overlook them when you’re being wowed by all the pretty pictures in the book, but cottage gardens are such a great opportunity to include a lot of them that you’d be crazy to miss out!
I’ve found this website: https://www.nativeflower.co.uk so so helpful in making sure I’m including all the greatest hits.
Step Two: Assess your space
You’re going to need some basic information about the bed you’re planting in.
Full Sun, Partial Shade, or Full Shade?
Are you in full sun, partial shade, or full shade? The way to know is to answer these questions:
- Does the bed get a minimum of six hours sunlight a day? If it does, you’re full sun, any less than that is considered partial shade.
- Is the bed shaded out by trees or something else that lets a bit of light through? If yes, that’s also partial shade.
- Is the light blocked by something solid like an evergreen tree or a building? That’s going to be full shade, in which case a cottage border is likely not going to be the best option for this space. It can still be beautiful, but it might be worth looking in to a gorgeous foliage garden or woodland style planting instead.
Work With The Aspect of Your Garden
Aspect means which compass direction the bed is facing. To find this out I head to Google Maps & take a look on satellite view. Here’s my own garden as an example:
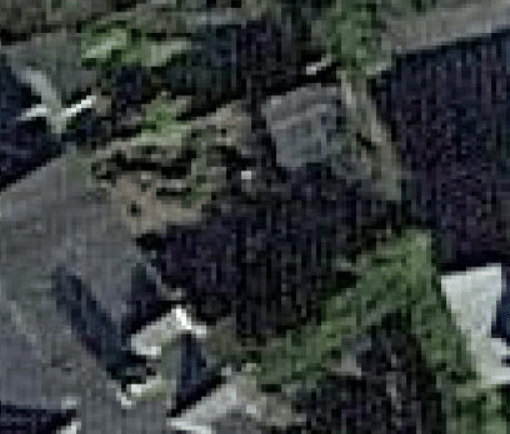
It can be a bit tricky to see what going on here, but hopefully you’ll recognise the features of your own garden! In the bottom left corner is my house, with the garden extending north east at an angle.
Knowing that the sun rises in the east (I usually have to sing a few lines from Disney’s masterpiece ‘Beauty & The Beast’ to remember this) you should be able to work out the approximate movement of the sun throughout the day.
For me, I get morning sun which disappears over the house after lunchtime, so my garden is north east facing.
Different beds in the garden obviously face different ways so will have different plants that can grow in them.
This is the concept behind the Victorian walled gardens – they created four perfect different climates in which to grow everything they needed!
Because of the way the sun arcs through the sky, if your border faces south you’re going to get bright sun all day, if you face north it might struggle to catch rays, especially in winter.
East facing beds get the morning sun & west facing get it in the afternoon. Many plants have a preference on this, afternoon sun is much hotter & some plant need that to flower well, others will shrivel up in too much direct sun.
The books you’ve gathered should tell you the preferences of each plant, & whilst you might be temped by something pretty that’s in the wrong category (& you probably can get away with the odd one), you really will have a much more successful garden if you stick to things that actually like where you’ve put them.
Step Three: Think About Colour
You might notice from the pictures on this page that I’m a multicoloured kinda girl. I like to cram it all in! But having a colour scheme can work really well, especially if you’re after something more calming than in your face.
You can have a look on Pinterest, or through gardening magazines, but I’ve always found the Pantone colour palettes really helpful.
Be warned though, trying to stick to a specific colour scheme is going to make plant selection more complicated. Also, if you’re trying to get year round colour, which is really great from a biodiversity point of view, colours tend to run in seasons – yellow & purple in spring, fading to oranges & browns in autumn. You might find it hard to get that exact shade of pink in March.
Step Four: Divide Plants In To Categories
Start With Structure
I always start by adding shrubs or trees (or both) to give things a bit of structure. Obviously evergreens are doing something interesting all year round, but deciduous trees & shrubs can be great too & a bit more delicate.
Branches covered in snow are lovely & give you something to look at when all your herbaceous perennials & annuals have died back.
Group By Season of Interest
You want to broadly group your plants in to seasons of interest. This isn’t quite the same as ‘when does it flower’ – some plants such as Cornus alba (Dogwood) flower in summer, but in winter they have incredible bright red stems that if left unpruned, look amazing in a snowy garden.

Look for plants that pull their weight for multiple seasons if possible.
Sort Your Plants By Growth Habit
For each season group, divide the plants again in to their ‘shape’ categories – this is known as ‘growth habit’, or often just ‘habit’ for short. This will help later when deciding what to put where. The main shapes you’re looking for are:
- Groundcover/creeping/mat forming – all these are really low plants that not only fill the gaps between larger plants, or creep delightfully over the edge of a wall or path, they are also really important for soil health. They keep the wind off which can dry soil out, damaging it, & they help retain moisture which is going to keep watering down & increase drought tolerance.
- Clumping – Plants that grow in small mounds or groups. These are the bread & butter of a cottage garden, they fill space & add a huge number of flowers.
- Columnar – Tall plants e.g. Foxgloves or Alliums. These peek out over the clumping plants & give dimension.
- Climbing – Plants that will grow up a structure such as a wall or trellis. If you think about the garden as an outdoor room you can see how important climbers are – you wouldn’t put a carpet down but have no wallpaper!

If I had to give one piece of advice about cottage garden planting it would be this:
Only put plants next to each other if they look really different!
Think about the foliage, is it feathery or bold, dark or light, near the ground or waving in the air?
If you put plants next to each other that are too similar, you just won’t be able to see any of them properly, & everything looks kind of mushy.
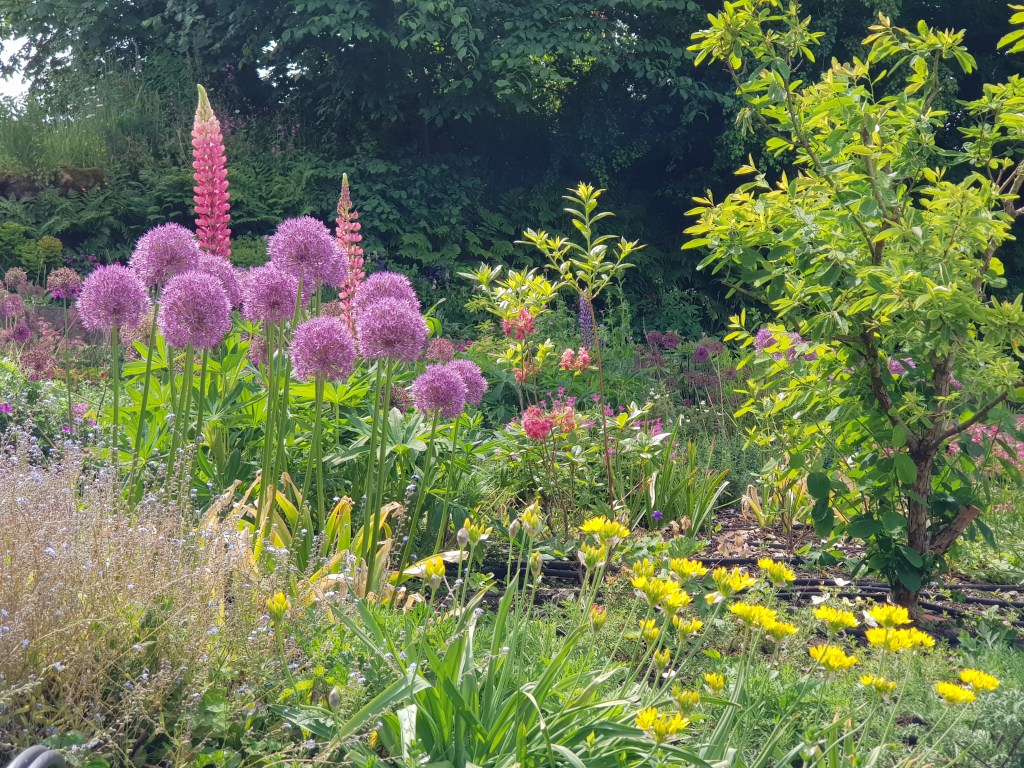
Notice the difference between this, which is really pretty, but it’s hard to see what’s going on:

And this, which is really defined & you can appreciate each individual plant:
If you juxtapose plants, then even when they’re not in flower you’ll be able to pick out & enjoy each different thing.
The final guideline I always give, is plant things in large groups. Columnar plants can be separated & spaced out, but pretty much everything else looks good in swathes, & even the tall things can look great in groups like the alliums in the picture above.
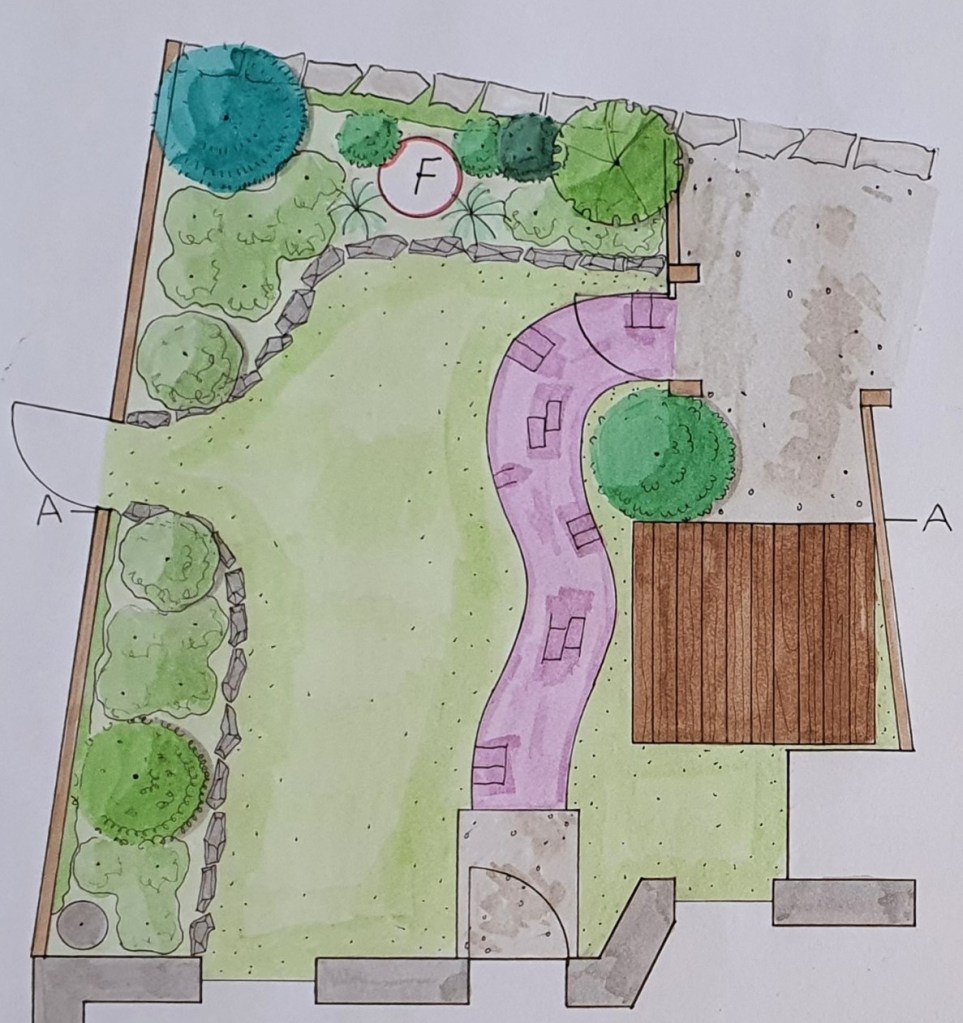
Step Five: (Optional) Create a Design on Paper
Finally, I generally map out where everything’s going to go. You can get all fancy & make a scale drawing, or you can just make a general guide. Google Maps can come in handy here again.
It’s useful to measure up to help you decide how many of each plant you’ll need, the plant label or book you’re using should tell you how far to space them.
It’s really important to remember that cottage gardens cannot be created overnight. They only look good if they’ve been allowed to grow in place, because they fill the available space, tumble over paths, & just generally look more natural that way.
Don’t be tempted to plant things closer to get the look sooner – you’ll regret it when you’re digging everything up the following year!
It might take a few years for it to look really good, & when you first plant it, it might look quite bare – this is normal! It takes patience.
If you really want to fill those gaps in year one, throw in some annual plants that will only last for a year. They’ll make it look good but won’t cause problems for you down the line.
So that’s my best advice on how to get a gorgeous, diverse cottage garden. Have you planted a garden up from scratch? Let me know in the comments how it went.
Sign up below for more nerdy plant book fun.


Leave a comment